Setting Up nBalance Project
This guide provides step-by-step instructions to set up the nBalance project from a Git repository using Bash scripts.
The setup scripts automate the process of downloading the project, installing dependencies, and preparing the application environment.
⚙️ Prerequisites
Before starting, make sure that:
- Ubuntu 20.04 or 22.04 LTS is installed
- Ensure that the YAML file is current and contains accurate IP information.
This repository includes three Bash scripts essential for setting up and configuring your project:
project_setup.sh, dnsmasq.sh, and syslog.sh.
It is crucial to execute them in a specific order to ensure proper functionality.
📦 Installation Steps
1. Get the Project
Download and extract the project files:
curl -L https://github.com/GreenTorque-Dev/haproxy_webapp/archive/refs/tags/v21.0.2.tar.gz > haproxy_webapp.tar.gz
tar -xvf haproxy_webapp.tar.gz -C ./
cd haproxy_webapp-21.0.2
2. Running Bash Script:
Execute the project setup script with the following command:
 cd ~/haproxy_webapp-21.0.2
 cd set_up
 sudo chmod +x project_setup.sh
 bash project_setup.sh
3. Password Prompt :
During the execution of your script, you might encounter a password prompt similar to the following:
User can type the server password
[sudo] password nbalanceadmin
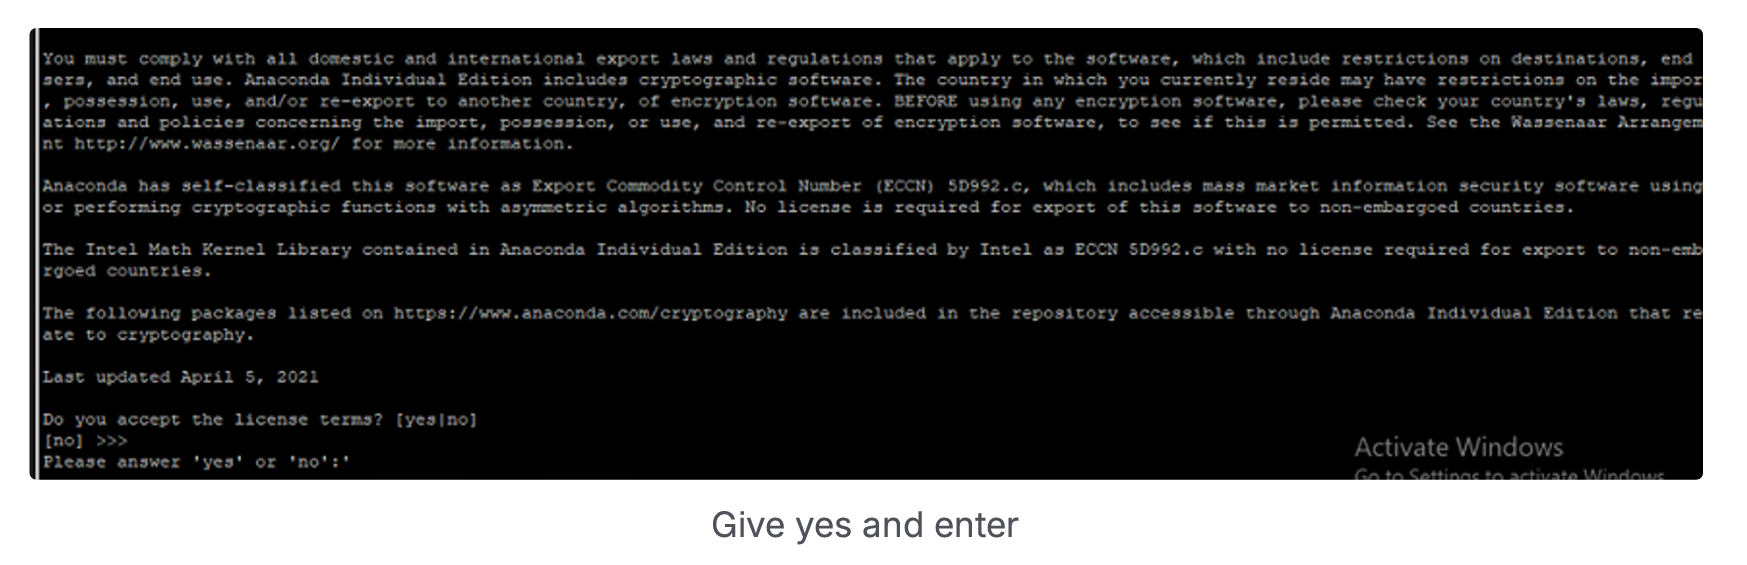
4. Package Configuration Prompt
During the installation or configuration of a package, you might encounter a prompt similar to the following: Select option Yes
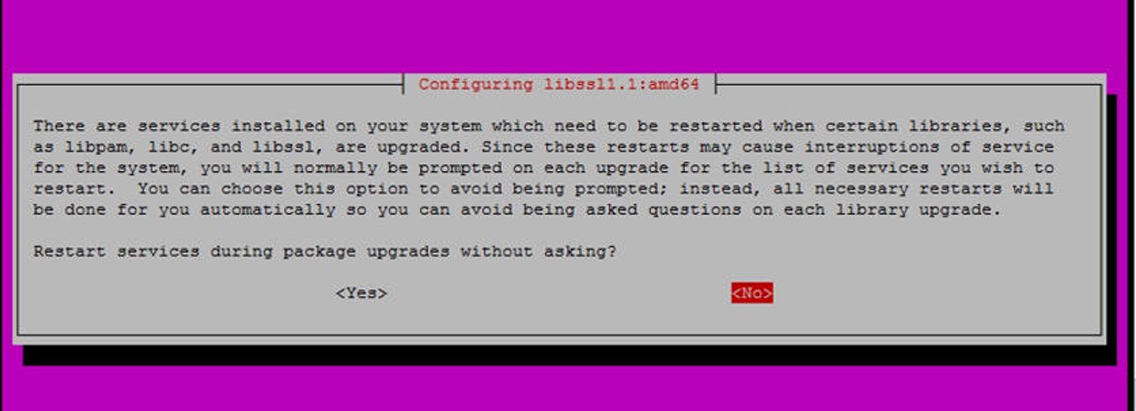
5. Package Configuration Prompt
During the execution of your script, you may encounter prompts that require user input. One such example is
 After this operation, 139 kB of additional disk space will be used.
 Do you want to continue? [Y/n]
 After this operation, 30.0 MB of additional disk space will be used.
 Do you want to continue? [Y/n]
in this example, the user can choose to continue by entering 'Y' for Yes in all cases
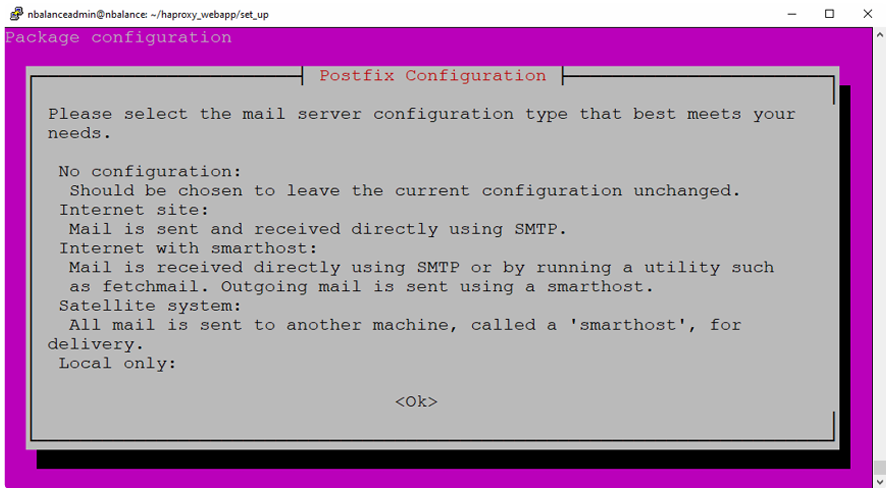
6. Postfix Configuration Prompt
The script will display a prompt, requesting the user to enter specific configuration details. Select ok and continue
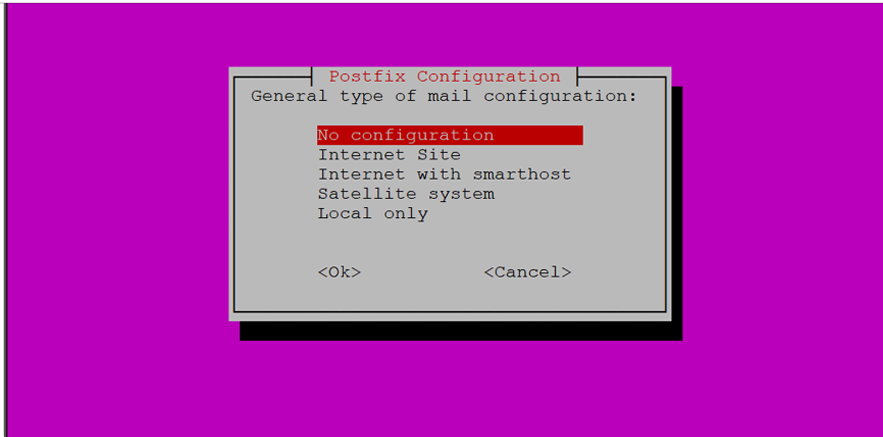
- User can choose NO configuration
7. Create Superuser Prompt:
This section guides you through the process of creating a superuser for nbalance
 Username (leave blank to use 'nbalanceadmin'):
 Password:
 Password (again):
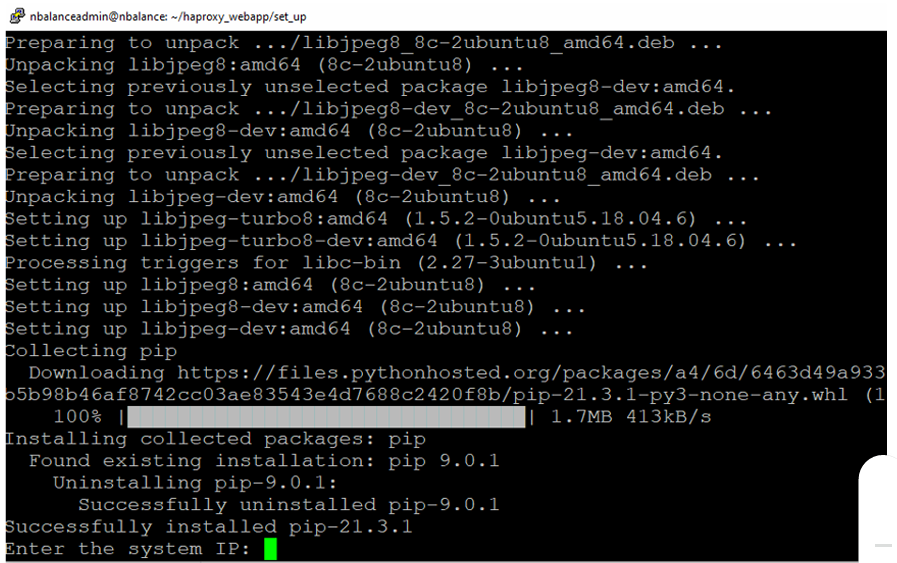
Setup DNSmasq
1. Running Bash Script:
Execute the project setup script with the following command:
 sudo chmod +x dnsmasq.sh
 bash dnsmasq.sh
The script will display a prompt, requesting the user to enter specific nameserver IP address , provide with correct nameserver IP
Setup Branding
1. Running Bash Script:
Execute the project setup script with the following command:
 sudo chmod +x rebrand_os.sh
 bash rebrand_os.sh
Setup Syslog with MySQL
1. Running Bash Script:
Execute the project setup script with the following command:
 cd ~/haproxy_webapp-21.0.2/set_up # no required if you already in
 set_up folder
 sudo chmod +x syslog.sh
 bash syslog.sh
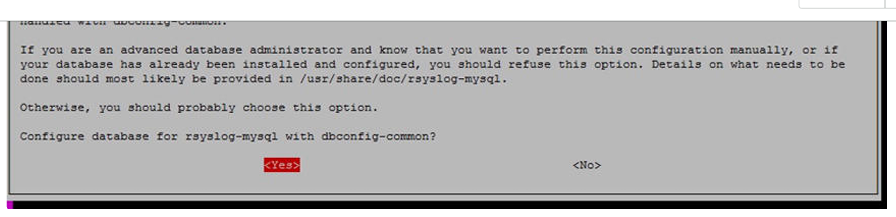
2. Package Configuration Prompt:
- During the installation or configuration of a package, you might encounter a prompt similar to the following: Select option Yes
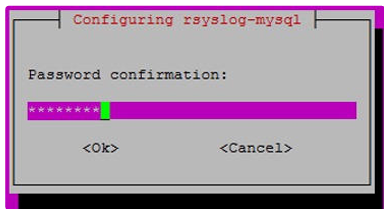
- Next will come a password confirmation prompt user can enter the password to continue, Use the password P@ssw0rd in all option
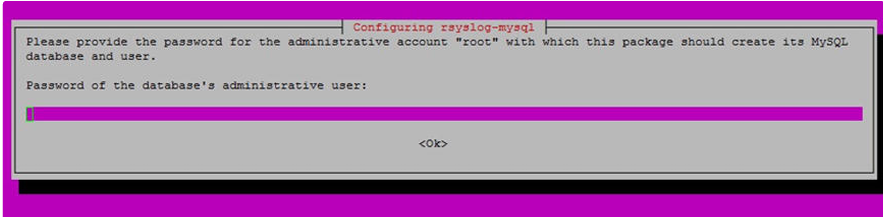
- The next prompt is for the admin password user can enter the password to continue
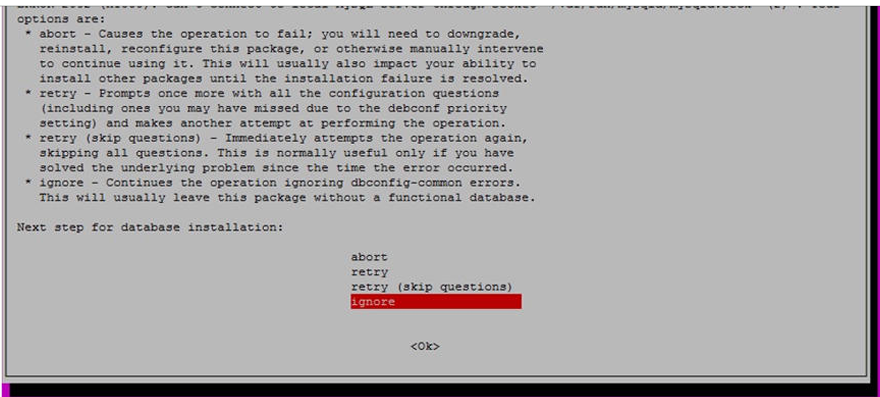
- You can ignore this prompt below shown for the error installing DB select ignore to continue
3. Set a New UNIX Password
- Type your desired password and press Enter. Note that the characters won't be displayed on the screen for security reasons. You will typically see a message similar to the following:
Enter new UNIX password:
- You will be asked to retype the password for confirmation
Retype new UNIX password:
If the passwords match, you will see a confirmation message indicating that the UNIX password has been successfully updated
4. Password Confirmation for Creating Syslog db in MySQL
- Enter your MySQL user password when prompted
 Enter password:
 Enter password to check is database created...
 Enter password:
5. Password Confirmation for Creating syslog db in syslog user in MySQL
- Enter your MySQL user password when prompted
 Enter password:
 Enter password to check is User created...
 Enter password:
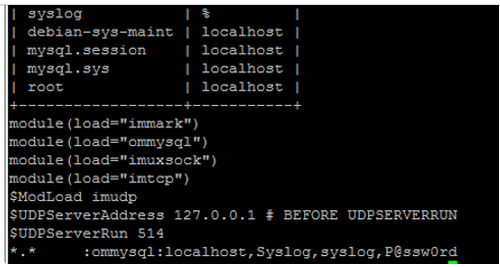
Prompt will be displayed Database typically similar to the image below
Running the Project:
Activate the conda environment with conda:
 cd ~/haproxy_webapp-21.0.2
 source ~/.bashrc # in a case getting error for conda command not found
 conda activate venv
Start the project using Uvicorn with the command:
 sudo pkill -f uvicorn # stop if server already running
 uvicorn app.asgi:application --host 0.0.0.0 --port 8000
This launches the web application, making it accessible at
http://0.0.0.0:8000 . Adjust the host and port as needed.
OR run the below commands
 cd ~/haproxy_webapp-21.0.2 # go to project dir
 conda activate venv
 python manage.py runserver 0:8000